Skip to Main Content
Back to Navigation

Chalk Paint Vs. Chalkboard Paint

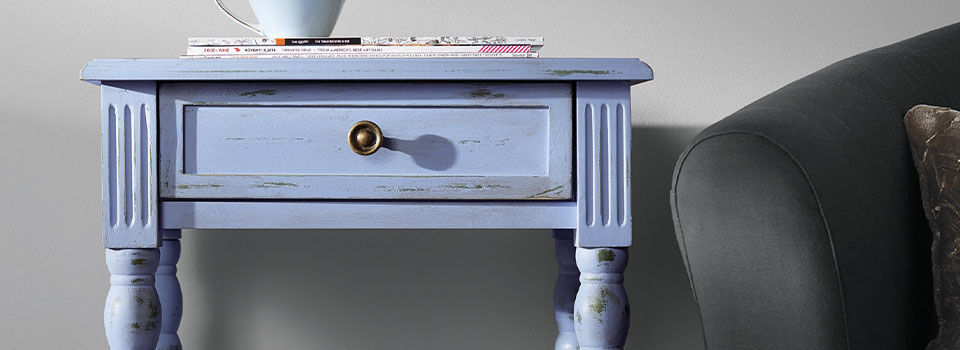
 A matte sea blue end table with a black knob gets its distinct finish from chalk paint. The farmhouse-style table sits against a white wall.

Two types of paint that commonly get mixed up are chalk paint and chalkboard paint. So what is the real difference between chalk paint vs. chalk paint? Most importantly, which should you choose for your next project?

Here, we've outlined the differences between chalk paint and chalkboard paint to help you tackle your next DIY adventure. Find out what you can achieve with these two amazing but different types of paint.

What is Chalk Paint?

Chances are, if you’ve considered a paint project, you’ve heard a recommendation for chalk paint. So what exactly is chalk paint?

Chalk paint is a specific style of paint that creates an antique or vintage-modern look for furniture. The name comes from the matte, chalk-like finish. Achieve a one-of-a-kind look by using waxes or glazes over the top of chalk paint.

Chalk paint is water-based. Typically, this paint gets its unique finish from the addition of plaster or calcium carbonate. Not only does chalk paint have a soft, "retro" finish, but it dries quickly and has excellent coverage, making it a favorite of many DIY-ers.

You can apply chalk paint on most surfaces. The paint is thick and easy to work with—you won’t even need to sand most surfaces! So if you want to achieve a shabby-chic finish to restore older furniture pieces (or to create a unique look for a new piece), chalk paint is a terrific option.
How to Apply Chalk Paint

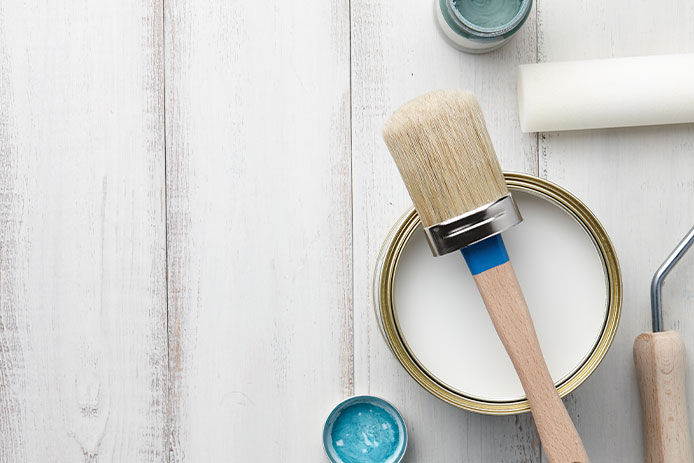
A tan bristled paint brush sits across the top of a can of white chalk paint. The can rests on a white-washed wooden surface next to a paint roller and smaller cans of turquoise-colored paint.

Ready to work with chalk paint on your next project? There are a few basic steps to follow, no matter the project. You’ll want to assemble all your tools before you begin and make sure you’re working in an open, well-ventilated area.

Supplies for painting with chalk paint:

Step 1: Prepare the surface for chalk paint.

Depending on the item you plan to paint with chalk paint, you may need to do some surface prep. If you aren’t sure, you can test the paint on a small, inconspicuous area (like the back of a leg) and let it dry to see how well the paint will adhere. Work over a drop cloth and tape over any areas where you don’t want to paint.

Step 2: Sand & prime (if needed).

If your item has a glossy surface, you’ll need to lightly sand the surface so the chalk paint adheres to the item. If your project was previously painted, remove loose or chipped paint using sandpaper too. Clean up with soap and water and allow the surface to dry before using chalk paint.

Do you need to prime before chalk paint? It depends on the surface, but the answer is usually no. If you’re using bare or treated wood, priming will help block tannin bleeds and allow you to get a better finish. If you do prime, you’ll need to wait two hours before applying your chalk paint.

A woman wearing a denim jacket with her hair in a messy bun stands in the center of a bright white room, with woodworking projects in the background. She is sanding a turquoise-colored chair that has been painted with chalk paint.

Step 3: Applying chalk paint.

When your project is ready for chalk paint, start by stirring the chalk paint thoroughly. Don't shake the can or thin the paint. Typically, it's best to avoid working in direct sunlight and high-humidity environments. Work in a clean, well-ventilated area using a high-quality synthetic paint brush. For chalk paint, use a brush instead of a nap roller.

Step 4: Dry and assess coat needs.

How many coats do you need with chalk paint? Again, it depends on the project and the surface. Chalk paint has great coverage. It dries within 2-4 hours (chalk paint may take longer to dry when the weather is cold). Although it will be dry to the touch in 30 minutes, you should wait 4 hours before adding another coat, if necessary.

Step 5: Antique or Distress Your Project

One thing that people love about chalk paint is that it gives a beautiful, antique finish that fits well with farmhouse décor and other looks. If you want an antique look, apply a wax or glaze over the top of your base paint and then wipe it away. For a distressed look, lightly sand the surface of the project with a particular focus on the edges. Use fine to medium-grit sandpaper or use a sanding sponge to remove as much or as little paint as needed to achieve your desired look.

Step 6: Clean up the chalk paint and supplies.

Cleaning up chalk paint couldn’t be easier. Most chalk paints are water-based and clean up easily with some rags, soap, and water. As with any paint project, thoroughly rinse and clean your paintbrushes, and hang them to dry.

What is Chalkboard Paint?

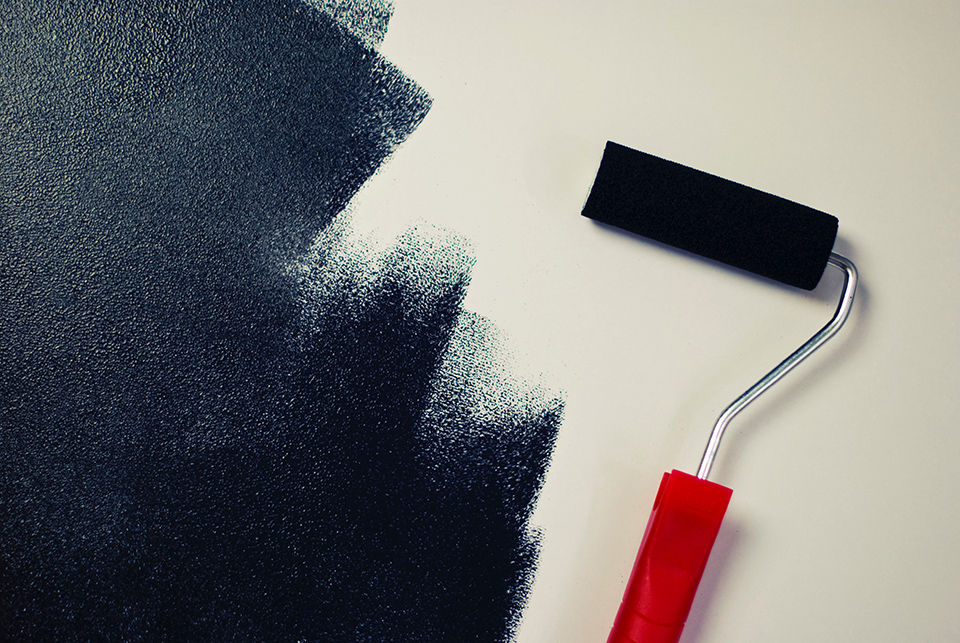
A red-handled paint roller is lying on a white surface that has been half-painted with black chalkboard paint. There is black chalkboard paint on the roller.

Photo by Pat Freling of Paint Strategies

Now, many people want to know chalk paint vs. chalkboard paint—what’s the difference? Are chalk paint and chalkboard paint the same thing? Can they be used interchangeably on projects?

Chalkboard paint is quite different from chalk paint. Chalkboard paint is made with hard pigments. When sprayed onto surfaces, chalkboard paint mimics the surface of a traditional chalkboard (like the type used in classrooms).

Many people love chalkboard paint for specialty projects—the inside of a pantry door, a writable surface in a kid's room, or a buffet top for easily labeling party dishes. Chalkboard paint is a fun way to add some personality and whimsy to your home.

When an item is sprayed with chalkboard paint, it dries to a hard, matte finish that can be written on with white or colored chalk, erased, and written on again. Chalkboard paint is usually available in black, dark-green, and other chalkboard-like colors. There are both spray and traditional chalkboard paints available at Do It Best, perfect for all your chalkboard projects.

How to Apply Chalkboard Paint

Even though chalkboard and chalk paint are different types of paint, working with them is pretty similar. If you’re hoping to give a project a black, writable surface, then chalkboard paint is the right choice. As with any project, it’s best to assemble all the tools and supplies before you begin. Prepare your work area, and make sure you have good ventilation.

Supplies for painting with chalkboard paint:

Step 1: Prepare your surface for chalkboard paint.

One significant difference between chalkboard paint vs. chalk paint is that chalkboard paint is highly pigmented and thus a little less forgiving. It's best to test the chalkboard paint on a small corner before you start your project. Make sure that the paint adheres to the surface.

Step 2: Sand or prime your project, if needed.

If you’re working on a pre-finished or glossy surface, you may want to sand it down before painting. When using chalk paint on metal or unfinished wood surfaces, it’s a good idea to prime the surface first. Use latex primer and allow it to dry for two hours before continuing with your project. Work over a drop cloth, and be sure to tape off any areas that you don’t want covered with paint.

Colorful chalkboard painted dresser

Step 3: Apply the chalkboard paint.

Depending on the type of chalkboard paint you’re using (spray or traditional), stir the paint to mix. If you’re using spray paint, follow the directions on the back of the can. Apply the chalkboard paint in an even, smooth coat using a good-quality synthetic brush, a nap roller, or a foam roller.

Step 4: Let the chalkboard paint dry and apply a second coat.

Chalkboard paint takes 2-4 hours to dry, even though many types will feel dry after 30 minutes. It's essential to allow the paint to dry completely before applying another coat, especially if you plan to use the surface for writing. Most chalkboard paints require at least two coats for full, lasting coverage.

Step 5: Clean up your work area.

Chalkboard paint is highly pigmented, so it’s important to clean it up thoroughly. Fortunately, most chalkboard paints are water-based latex, so you just need a little soap and water. Be sure to thoroughly rinse your brushes and rollers and allow them to dry completely before storing.

Step 6: Condition the Chalkboard for writing.

To allow for proper erasing, you need to condition your chalkboard surface. What does it mean to condition chalkboard paint? After your project dries for 3-4 days, you will take a piece of chalk and rub it on the entire surface of the board. Then erase the board. After 7 days of drying, you can use water to clean the chalkboard, but be sure to recondition the surface after cleaning.

Make Your Next Project Great with Chalk or Chalkboard Paint

There are many uses for both chalk paint and chalkboard paint. Both are quite charming ways to add to your décor. DIY-ers love using chalk paint for furniture because it’s so easy to work with. Use chalk paint to refresh old furniture, cabinetry, and household items to create one-of-a-kind accent pieces.

Of course, you can also use chalkboard paint to add writable surfaces to furniture, doors, cabinetry, and wall sections. Many people love the look of a chalkboard in the kitchen, in a playroom, or as a fun addition to a home office.

If you’re weighing chalk paint vs. chalkboard paint, you’ll find either type of paint at your local Do it Best. Have fun with your next home project, and make it unique. At Do It Best, we have all the supplies you need for DIY success!

While do-it-yourself projects can be fun and fulfilling, there is always a potential for personal injury or property damage. We strongly suggest that any project beyond your abilities be left to licensed professionals such as electricians, plumbers, and carpenters. Any action you take upon the information on this website is strictly at your own risk, and we assume no responsibility or liability for the contents of this article.

test

How to Apply Deck Stain

Simple DIY tips for cleaning, prepping, and staining your deck

Learn more
test

5 Tips to Caulk Like a Pro

Learn how to get the perfect bead of caulk for a professional-looking finish!

Learn more
test

5 Things to Do Before a House Appraisal

If you're new to the home appraisal process, it can be a bit daunting. Today, we'll explore what a home appraisal is, how to prepare for a house appraisal, and give you five must-dos to help the appraiser see your home at its best!

Learn more
test

5 Ways to Remove Paint from Wood Surfaces

Looking to clean up old painted wood for a refinish or stain? With Do it Best, discover the top five best methods for easily stripping paint from wood!

Learn more
test

Gorilla Glue Buying Guide

Easily find the best adhesive to meet your next DIY project needs!

Learn more